-
Step 1: Photograph the packaging before you cut anything
-
Step 2: Verify the serial number against the manufacturer's database
-
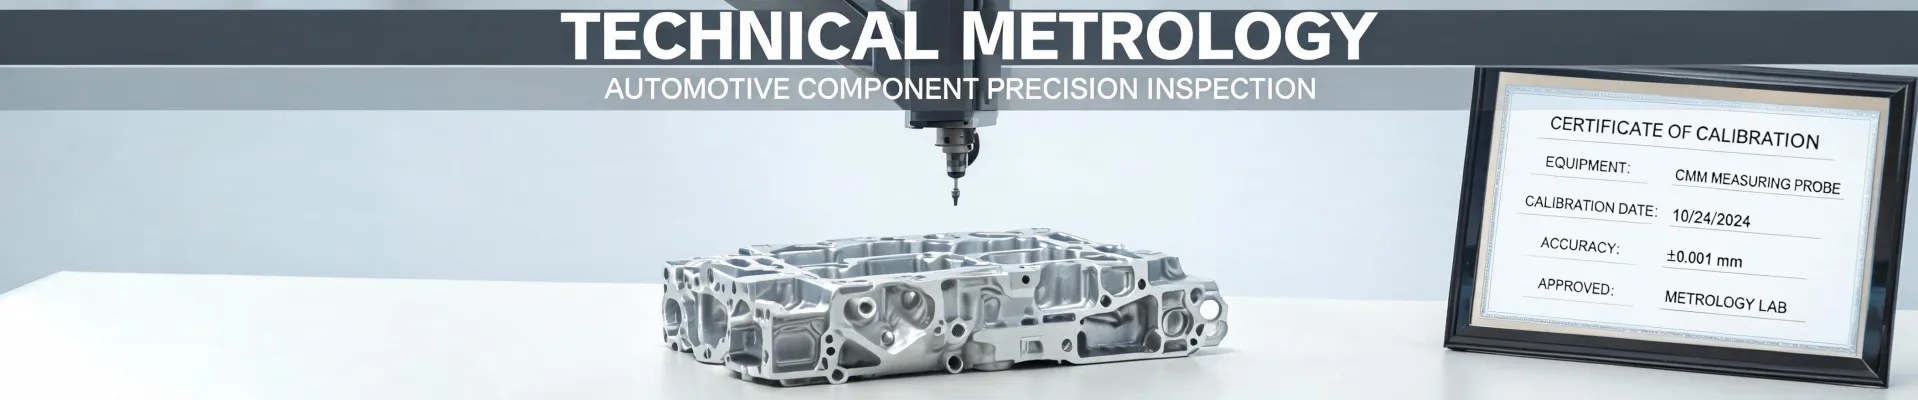
Step 3: Read the calibration certificate, not just glance at it
-
Step 4: Let it stabilize, then run a baseline check
-
Step 5: Check firmware and software versions before deployment
-
Step 6: Thermal cameras: compare specs, not brands
-
Step 7: Log it into the calibration system today
-
Three mistakes I see people make (including me)
Sooner or later, someone is going to put a clipboard in front of you and say "sign here" for a piece of test equipment. That could be a hexagon portable CMM, a digital micrometer, a thermal camera—whatever it is, if it's going to produce numbers that end up in a report, this checklist applies to you.
I've been handling incoming equipment verification for about seven years. In that time, I've personally made eight significant mistakes, totaling roughly $3,200 in wasted budget, rework, and expedited shipping. Some were dumb, some were subtle, all of them turned into items on this list. Seven steps, no theory. It'll take you about 45 minutes the first time.
Step 1: Photograph the packaging before you cut anything
This sounds paranoid. Do it anyway.
We once received a portable CMM that looked fine on the outside. The customer later claimed it arrived damaged, and because we hadn't photographed the crate condition, we couldn't prove it came that way. The dispute cost about $450 and a week of carrier back-and-forth. The "carriers are honest enough" assumption looked smart until we needed evidence. So photograph all six sides of the crate, the seal, and the brand label before you open it. Three minutes. Free insurance.
Step 2: Verify the serial number against the manufacturer's database
Every legitimate manufacturer—including Hexagon—has a serial number lookup. Use it. If you bought through an authorized hexagon shop, this takes about two minutes. If you bought from a marketplace or a reseller, it matters even more.
We once received a "new" digital micrometer in a sealed box that had a prior calibration history. The serial lookup caught it immediately. And here's the one that still gets me: about 1 in 10 incoming units has a discrepancy between the packing list and the actual configuration. Sometimes it's not the model number—it's a probe kit, a battery, an accessory. But in metrology, accessories are where the accuracy lives.
Step 3: Read the calibration certificate, not just glance at it
I want to say this is the step most people ignore, but honestly, I didn't fully learn it until I got burned. A certificate needs three things to be useful:
- A current date. Is it expired—or close to expiring—at delivery?
- An uncertainty statement. If it says "within spec" without numbers, that's a yellow flag, not a green one.
- A serial number that matches the unit in your hand. You'd be surprised how often this doesn't line up.
Also check whether the lab is ISO 17025-accredited for the specific measurement. Not all certificates are created equal—some reference an internal "manufacturer procedure" that your quality auditor might not accept. I've never fully understood why some labs report MPE in micrometers and others in millimeters without a consistent convention. My best guess is it's a legacy reporting thing. If someone knows the actual reason, I'd genuinely love to hear it.
Step 4: Let it stabilize, then run a baseline check
Precision equipment has temperature dependencies. Thermal cameras, portable CMMs, even digital micrometers drift when they haven't stabilized at the ambient temperature.
At my previous job, we received a laser tracker in January. Delivery truck, cold dock, bright building. We unboxed it immediately and the readings were all over the place. We almost shipped it back—or rather, I had the return label pulled up—before a technician pointed out the stabilization requirement buried in the manual. The upside of rushing was saving maybe two hours. The risk was rejecting a $3,000 instrument for no reason. Or worse, accepting one that was actually out of spec. I kept asking myself: is two hours worth potentially weeks of bad data? It wasn't.
Let it sit in its operating environment for 2–4 hours. Run the warm-up the manual specifies. Then do a baseline measurement with a reference you trust—a ball bar for a CMM, gage blocks for a micrometer, a blackbody source for a thermal camera. If you follow ASME B89 methods for CMM verification, even a simplified version catches gross errors fast.
Step 5: Check firmware and software versions before deployment
This is the step I'd add if I could redo my checklist earlier. A colleague once spent three days chasing a thermal measurement discrepancy. The camera had shipped two firmware versions behind, and the bug he was hitting was listed in the release notes of the update he hadn't installed.
For hexagon portable CMMs, the firmware version determines which measurement routines and compensation modes are available. For thermal cameras, firmware updates often fix measurement bugs. Check the manufacturer's website, compare versions, and install updates after the baseline test—so you'll know whether the update changes the numbers.
Step 6: Thermal cameras: compare specs, not brands
People ask me about FLIR vs Fluke thermal cameras all the time. I've used both, and honestly, both make solid units. The mistake isn't choosing the "wrong" brand. The mistake is comparing marketing claims instead of measurement specs.
What I actually check now:
- Thermal sensitivity (NETD). The smallest temperature difference the camera can resolve. This matters way more than the pretty demo images.
- Detector resolution. A 640×480 detector costs more than a 320×240 for a reason. Buy what your application needs, not what looks impressive on a product sheet.
- Temperature range and accuracy spec. Some cameras are rated ±2°C, some ±5°C. That difference changes what you can honestly put in a report.
Looking back, I nearly bought the wrong camera because I got caught up in "higher resolution" while ignoring that the unit's thermal sensitivity was worse than a cheaper alternative. I should have listed my measurement requirements first, then matched cameras to them. At the time, I just wanted the coolest-looking screen. Our quality manager still brings that one up, which is fair.
Step 7: Log it into the calibration system today
If it's not in the system, it doesn't exist. This ties directly into sensors test & calibration workflows: an unlogged device is a device that could get used for a production test with nobody knowing when its next calibration is due.
I once ordered eight digital micrometers—same vendor, same model, same purchase order. Checked all of them, approved all of them, processed the paperwork. What I didn't do was verify that the calibration due dates were entered correctly. Two of the eight had different expirations than the others, and by the time we noticed, they'd been used in production for three weeks with expired calibration. That error cost $890 in re-inspection plus a week of schedule delay. All because logging was "tomorrow's job."
So log the serial number, certificate number, due date, and owner name on the day of receipt. Not tomorrow.
Three mistakes I see people make (including me)
1. Buying gray-market test equipment to save money. The $200–$500 discount on a high-end micrometer or thermal camera looks great on the purchase order. But if the device doesn't have a valid, NIST-traceable calibration certificate, you've inherited a liability. In my experience managing incoming equipment orders, the lowest quote has ended up costing us more in about 60% of cases. The "budget vendor" choice looked smart until the audit revealed the documentation gap. Re-calibration cost more than the original "expensive" quote from an authorized dealer.
2. Testing the instrument differently from how you'll use it. A micrometer calibrated at 20°C behaves differently on a factory floor at 28°C. A thermal camera that looks great on a clean lab target can drift when you're taking awkward-angle measurements on a live panel. Run at least one test that mimics your real working conditions.
3. Signing the paperwork before verification is complete. The delivery driver wants the clipboard back. The procurement manager wants the order closed. But nobody benefits if you accept unverified equipment. A "quarantine awaiting inspection" note in the system isn't bureaucracy. It's the difference between a controlled process and a guess.
I'm still learning parts of this. Last month I caught a discrepancy on a sensor test & calibration order that would have gone straight through two years ago. Not because I'm sharp—because the checklist caught it. Basically, that's the whole point: you don't need to be at your best on a bad day. You need a process that does the remembering for you.
If you're looking at a crate right now, wondering whether to open it or wait for the manufacturer's rep: open it. Photograph it. Run the checklist. Forty-five minutes now will save you a lot more than forty-five minutes later.