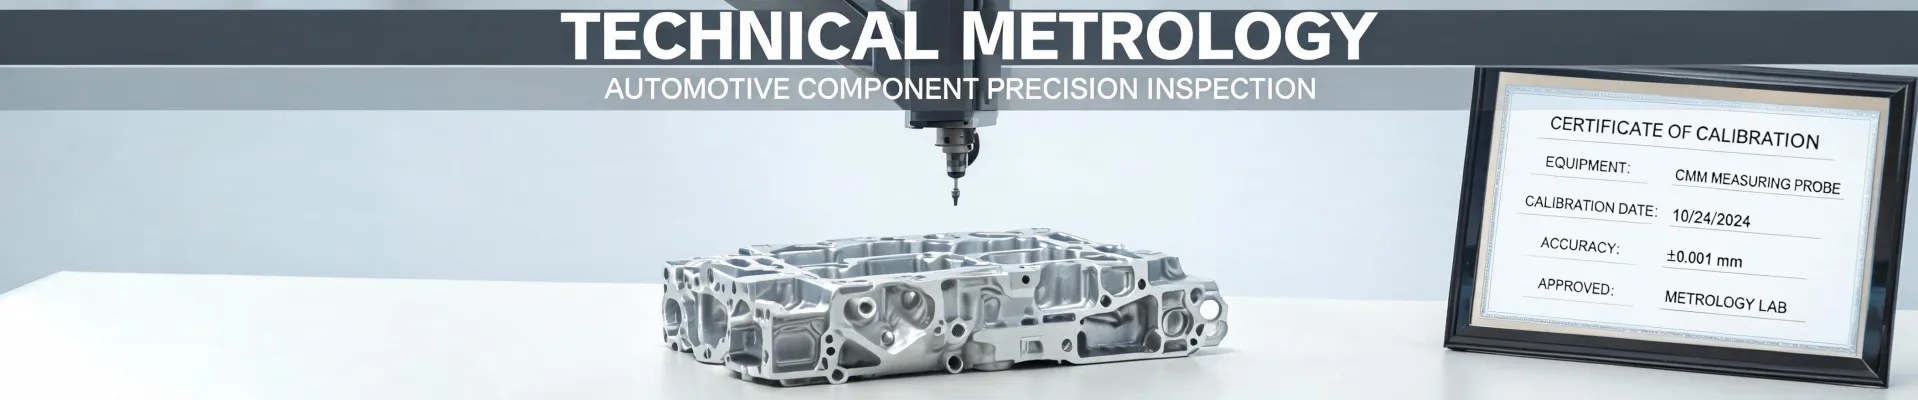
For the past eight years, I've handled measurement equipment buying and calibration work for a Midwest manufacturing plant. I've personally made and documented 14 significant mistakes—totaling just over $41,000 in wasted budget. Now I maintain our team's measurement checklist, and the first item on it is this: stop assuming the solution is another CMM.
If you're searching for a hexagon cmm machine or reading hexagon metrology cmm spec sheets, you probably have a real problem: parts getting rejected, customers complaining, or a quality team tired of guessing. But better measurement can mean three completely different jobs.
There's no universal answer. It depends on the part, the tolerance, the environment, and who is going to read the number. Let's walk through the three scenarios I keep seeing.
Three Different Jobs Hiding in One Question
After my second expensive mistake, I started categorizing every measurement request. That's when I realized we need better measurement actually falls into one of these:
- Scenario A: You need repeatable, high-precision coordinates on discrete parts in a controlled shop environment.
- Scenario B: You measure large, awkward, or job-site parts that don't fit a standard lab machine.
- Scenario C: You need fast, go/no-go checks—presence, level, electrical signal, heat—where good enough is actually the spec.
Each one deserves a different budget. And the scenario that surprised me most was the last one.
Scenario A: When You Really Need a CMM
The first hexagon metrology cmm we brought in was beautiful. It sat in a temperature-controlled bay, ran the same program for an automotive job, and made our capability look serious. The customer signed off. Then we tried to use it for everything, and that's when the trouble started.
A CMM is not a magic box. According to ISO 10360-2, the machine's maximum permissible error is quoted under defined conditions—temperature, vibration, styli configuration. I didn't think enough about the defined conditions part. Our shop floor drifted 6 degrees between morning and afternoon. That alone pushed some measurements outside what the CMM was supposed to hold.
So if your parts have tight GD&T, true position, or profile callouts, a hexagon cmm machine belongs in your future. But ask yourself first:
- Do you control and document temperature?
- Do you have trained operators who understand measuring strategy?
- Do you already use calibrated standards in the process?
If the answer to any of those is no, a new CMM will just make the same bad measurements faster. That's not an insult to the machine. It's a fact about the surrounding process.
Here's the counterintuitive part: a CMM should often not be your first precision purchase. Get the basics right first—calibrated calipers, a granite comparator, temperature logging. Then, if the tolerance demands it, move up.
Scenario B: Big, Portable, and On-Site Parts
If your parts refuse to fit in a temperature-controlled bay, a traditional CMM won't help. That's where portable arms and laser trackers come in.
Had 48 hours to decide whether we were renting a portable arm or sending a huge casting to an outside lab. Normally I'd run a repeatability test and compare measurement plans, but the production manager was standing over my desk. We went with the portable arm because it seemed like the real choice. In hindsight, I should have pushed back on the timeline. The arm worked, but we used it three times in the first year—no, four, if you count the demo for the CEO. You get the point.
I want to say the rental was $6,300, but don't quote me on that. The point is, the calibration fee didn't care about our usage rate.
What I learned: portable systems are about the right part in the right place, not about upgrading your image. If you're measuring a large assembly with tight mounting locations, a laser tracker validated under ASME B89.4.22 is a great tool. Just make sure the tool is busy enough to justify its cost.
The local service is always safer thinking comes from an era when machine controllers were closed boxes and you couldn't troubleshoot without a technician on site. That has changed. Remote support and careful planning can often beat an unplanned local trip.
Even after choosing the portable arm, I kept second-guessing. What if we'd saved the money with a simple fixture? Didn't relax until the arm measured a mounting point that would have caused a field failure. It was the right call for that specific job. But right for that job doesn't automatically mean right to own.
Scenario C: Field Checks, Go/No-Go, and Good Enough
This is the scenario I ignored for years. Not every measurement problem is a coordinate measurement problem. Some are level. Some are electrical. Some are thermal. If you're in that situation, a laser level sensor or a hand-held thermal camera is often the smartest purchase—not a CMM.
Example: our powder coat line had recurring powder supply issues. Everyone assumed it was a pressure problem. It turned out to be level detection in the feed hopper. A laser level sensor showed the hopper was nearly empty while the main controller thought it was full. The sensor cost maybe $300. It saved us a $30,000 replacement guess. I still kick myself for not testing it earlier.
Here's what's kinda funny: a $300 sensor solved what a $40,000 CMM never would have detected. The surprise wasn't the sensor. It was how much of our measurement pain was not a geometry problem at all.
For electrical troubleshooting, keep a 45 dual display multimeter on the bench. It shows voltage and current simultaneously, which helps on motors and contactors. But understand what it is: a troubleshooting tool, not a calibration standard. Accuracy specs are quoted after warm-up and in a stable thermal environment—usually written in the manual. Don't ignore that because you're in a hurry.
How to Use FLIR One Thermal Camera Without Fooling Yourself
The question I hear most is how to use FLIR One thermal camera for maintenance. Here's what I learned after a lucky escape:
- Set the emissivity first. The app's default 0.95 is not correct for bare metal. For copper or aluminum, adjust it toward 0.4-0.5, or you'll trust a wrong temperature.
- Let the lens warm up. The FLIR One plugs into your phone, but the sensor needs a couple of minutes to stabilize. Don't scan a panel ten seconds after plugging it in.
- Use MSX mode. It overlays the visible image with thermal detail. That tells you where the hot spot is, not just that it exists.
- Treat it as a screening tool. The FLIR One is excellent for finding anomalies. It is not how you verify a calibration. Confirm the anomaly with a contact thermometer or a 45 dual display multimeter.
Let me be clear: I do not mean a $300 sensor replaces a CMM. If your true position tolerance is 0.05 mm, no sensor will save you. But the inverse is also true—a CMM will not tell you why a hopper is empty.
How to Tell Which Scenario You're In
Forget the idea of one universal solution. Here's how I make the call now.
Pull your last 20 rejected parts or customer complaints. Don't skim them; categorize them.
- Geometry issues—flatness, true position, diameter—point to Scenario A or B.
- Level, presence, thermal, or electrical issues point to Scenario C.
If 80% of your problems are thermal, electrical, or level-related, buying a hexagon cmm machine is like buying a racecar to fix a flat tire. If 80% are geometry-related, spend time on environment and operator training before you spend money on a new machine.
Still unsure? Use this rule: the equipment you need is set by your tightest tolerance, not your average tolerance. If every drawing has a tolerance around ±0.5 mm, no CMM will improve your life. If one drawing has true position at 0.05 mm, you need a real metrology plan.
The Part Everyone Forgets: Output Quality Becomes Client Perception
The most expensive mistake I made wasn't buying the wrong tool. It was delivering reports that looked confident but weren't traceable. I didn't list the calibration date, the temperature at time of measurement, or the uncertainty. The report looked fine on my screen. It failed the customer's audit because they couldn't verify the number.
When I switched to documenting every traceable measurement—calibration certificate numbers, uncertainty budgets, operator name—client feedback improved. We didn't change a single part. We changed how our numbers could be trusted.
Don't buy capability. Buy certainty.
That's not a soft marketing point. It's a practical one. If the output of your measurement process looks careless, your company looks careless. If the output is traceable and clear, people assume your company has its act together.
So here's the checklist I use now:
- What tolerance am I trying to control?
- Where will the part actually be when measured?
- Who's going to read the result?
If the customer reads the result, invest in traceability. If your team reads it, invest in clarity and speed. If nobody reads it, stop measuring and fix the process.
The answer isn't always a CMM. And the answer isn't always a $300 sensor. It's the scenario you're actually in.