-
Step 1: Match the Certificate to the Instrument, Not the Order
-
Step 2: Let It Acclimate Before You Trust a Single Reading
-
Step 3: Laser Trackers—Verify Beam and Reflector Setup
-
Step 4: Function Generators—Test the Output, Not Just the Sticker
-
Step 5: Thermal Cameras and the Glass Question
-
Step 6: Hexagon CMM Calibrations—Look at the Trend, Not the Pass/Fail
-
Step 7: Know When It's Not Your Domain
-
Common Mistakes to Avoid
I review equipment before it goes into service—roughly 200 instruments a year. Maybe 180, I'd have to check the log. The point is, I've seen what happens when verification gets treated as a formality instead of a real check. This is the 7-step checklist I actually run through before any precision instrument gets approved for use in our facility.
Use this when you're receiving new equipment, pulling units out of long-term storage, or after a calibration service has come back with a fresh certificate. It's written for a mixed instrument lab, so not every step applies to every device. Pick what fits.
Step 1: Match the Certificate to the Instrument, Not the Order
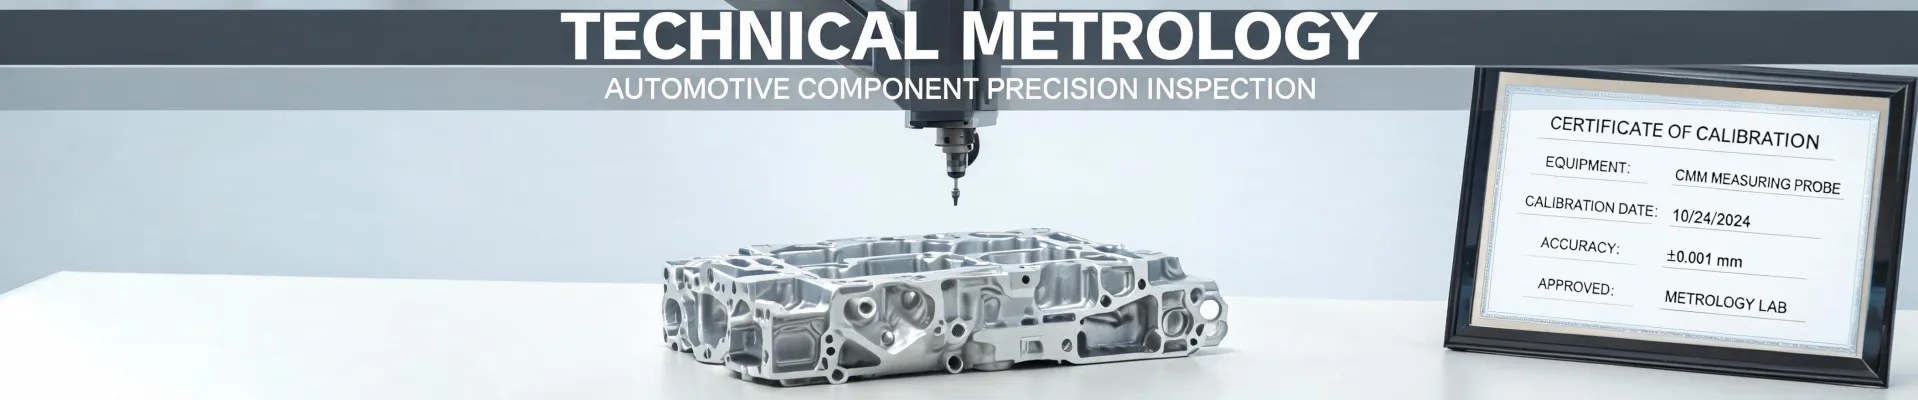
This sounds obvious, but you'd be surprised. I've caught a calibration certificate that was attached to the wrong CMM probe head—right model, wrong serial number. The vendor lab had mixed up two units from the same batch. Fortunately we spotted it before anything shipped to a customer.
When you open a calibration certificate, check three things:
- Serial number: Must match the physical S/N tag on the instrument exactly. Not "close enough"—exact.
- Date and due date: Look at the gap between the calibration date and today. If the instrument sat in storage for six months with a current cert, the physical condition matters more than the paperwork.
- Scope of calibration: A cert that says "calibrated" means nothing if the ranges and parameters on it don't cover how you actually use the instrument.
The last one is what bit us in our Q1 2024 audit. We had a certificate for a thermal camera covering its standard temperature range, but not the specific emissivity setting we use on our targets. The vendor claimed it was "within industry standard." Normal tolerance for our application was ±2 °C, and we measured drift closer to +4 °C in the range we cared about. We rejected the batch, and they redid the calibration at their cost. Now every contract includes emissivity requirements.
Step 2: Let It Acclimate Before You Trust a Single Reading
Precision instruments are temperature-sensitive. A hexagon CMM that sat in a shipping crate at 8 °C is not going to give you the same results as one at 20 °C. That's not a defect—it's mechanical and optical physics.
The rule we follow: 24 hours in the destination environment before any functional verification. Laser trackers are a bit more forgiving on time, but not by much. If the instrument came off a cold truck, give it a full day.
During acclimation, log temperature and humidity every few hours. You're not just waiting—you're confirming the environment itself is stable. If the room fluctuates more than ±1 °C during that window, you've found a facility issue, not an instrument issue.
Step 3: Laser Trackers—Verify Beam and Reflector Setup
Hexagon laser trackers are some of the most precise portable measurement tools you can own. But the accuracy chain is only as strong as the weakest link, and the weakest link is usually the reflector setup.
Before running any verification measurement:
- Check the beam output. You should see a clean, unobstructed path to the reflector.
- Inspect the reflector for smudges or scratches. Even a fingerprint can weaken the return signal noticeably.
- Run the tracker's self-compensation routine if the unit has been moved or exposed to significant temperature change since last use.
- Perform a quick repeatability test: measure the same target point five times, moving the tripod and reflector between measurements. Spread should sit within the manufacturer's spec.
Honestly, the biggest mistake I see is skipping the repeatability test because "the calibration is current." A calibrated tracker with a dirty reflector or a loose tripod head will still give you bad data. The certificate says the instrument was good on that day, under those conditions. You're verifying it's still good today, under yours.
Put another way: the certificate is a promise, not a fact. Your job is to check whether the promise holds.
Step 4: Function Generators—Test the Output, Not Just the Sticker
Function generators are different from CMMs and laser trackers in one uncomfortable way: their calibration can drift without obvious symptoms. No grinding bearings, no visible wear. But if the output amplitude drifts, every test you run with that generator drifts with it.
When I verify a function generator, I do a quick functional test:
- Set a 1 kHz sine wave at 1 Vpp and measure it with a known-good oscilloscope or calibrated digital multimeter.
- Check every output channel, not just channel 1.
- Test at two frequency extremes—the low end and the high end of the instrument's rated range.
The full check takes about 20 minutes per unit, and it's worth every minute. When I compared our Q1 and Q2 incoming inspection data side by side—same vendor, same procedure—I found that channel 2 on a batch of five generators was consistently off by 2% at high frequencies. Five units, all with valid calibration certs, all biased in the same direction. We sent them back and added a high-frequency output check to our contract requirements. That one change saved us a ton of downstream rework.
Step 5: Thermal Cameras and the Glass Question
Let me address this directly, because it comes up constantly from both customers and our own junior staff: can thermal cameras see through glass? No, not in any practical sense.
Standard soda-lime glass—the stuff in windows, doors, and display panels—is opaque to long-wave infrared, which is exactly the band that most thermal cameras operate in (7.5–14 µm). A FLIR thermal camera pointed at a window will show you reflections of the camera's own sensor heat and the room behind you, not whatever is on the other side of the glass.
Some materials do transmit IR—that's true. But standard window glass blocks long-wave IR almost completely. If you genuinely need to measure through something transparent, you're looking at specialized IR-transmissive materials like germanium or zinc selenide, which are expensive and uncommon in ordinary industrial settings.
So when someone tells you "you can see through glass, just adjust the emissivity," that's not how emissivity works. Adjusting emissivity changes the calculation, not the transmissivity of the glass. The signal you're measuring is the reflected environment, not your target.
I can only speak to my own context here—industrial inspection with handheld and fixed-mount thermal cameras. If you're dealing with IR windows in electrical switchgear, those are designed to be IR-transmissive, and that's a genuinely different scenario. But a standard window? Get the camera on the other side of the glass, or don't waste your time.
Step 6: Hexagon CMM Calibrations—Look at the Trend, Not the Pass/Fail
When a hexagon CMM comes back from calibration, the report shows pass or fail against the relevant standard. But if you stop at that checkbox, you're missing the most useful part of the data.
Keep the calibration history and track the pattern:
- Is the reported error getting larger each cycle, even while still in tolerance?
- Are errors concentrated in one axis or one region of the measuring volume?
- Does the error pattern track with seasonal temperature changes in your lab?
These are early warnings that a CMM needs mechanical attention—maybe a bearing replacement, maybe a granite table leveling issue—before it ever fails a calibration outright. Catching it early means you can schedule maintenance during a planned shutdown instead of an unplanned one. That quality issue cost us a $22,000 redo once and delayed a launch by two weeks. After we upgraded our trend-review protocol, our on-time delivery numbers improved measurably.
Step 7: Know When It's Not Your Domain
This is where professional boundaries matter. In Step 4, I said function generators should get a functional verification. But there are instruments in a broad lab where I will happily tell you: "this isn't our strength—here's who does it better."
Take the 1100 series HPLC systems we use. That's an Agilent instrument, and while my team can check that it powers on and the basic fluidics are connected, I would never pretend to run deep chromatographic performance verification on it. That's specialized work. I'd rather call in a chromatography specialist than fake confidence on something that critical to our customers' data.
The vendor who said "this isn't our strength, here's who does it better" earned my trust for everything else. That's the mindset I bring to instruments outside my core expertise. If your team's core competency is metrology—CMMs, laser trackers, dimensional measurement—your credibility depends on being excellent at that, not on confidently pretending you can also verify an HPLC with the same depth.
Common Mistakes to Avoid
A few things I see repeatedly from otherwise careful people:
- Skipping the acclimation window because "it's only a quick check." The quick check becomes a false pass, and you don't discover the problem until the instrument is in production.
- Trusting old certificates after the instrument has been moved or dropped. The cert is void the moment the instrument experiences conditions outside its rated handling. Re-verify or recalibrate.
- Applying this checklist rigidly to every instrument type. The glass/thermal camera point doesn't apply to all IR applications, and the HPLC step is genuinely beyond the scope of someone who isn't a chromatographer. Use this as a framework, not dogma.
One more thing: this was accurate as of early 2025. Standards and calibration requirements evolve—the ISO 17025 landscape in particular keeps shifting. Verify current requirements at official sources before you commit to any verification protocol.
Bottom line: a calibration certificate is a starting point, not a conclusion. The instruments that pass through your facility deserve the same scrutiny you'd give any other deliverable. That's the job, and it's worth doing properly.